Connect without webhook homework.
Authorize Spronta and choose your project. The destination, credentials and selected event filters are managed for you.
Follow the website visit before a signup. Connect PostHog events to Spronta’s content and Answers journeys, with automatic destination setup.
Works with Spronta Analytics · Explore pricingUse PostHog for product analytics and Spronta for the content experience. Connect the two to understand the pages and questions before a recorded goal.
Authorize Spronta and choose your project. The destination, credentials and selected event filters are managed for you.
Pick your signup, trial or purchase event from the connected project. Optional property filters let you narrow the outcome.
Connect shared sessions and explicit identities to content visits and Spronta interactions. Unmatched conversions stay visible separately.
Sign in to PostHog, choose your project and let Spronta configure the destination. Choose goal events from your actual PostHog project.
Read the setup guideChoose your region, sign in and select your project. Spronta configures delivery automatically.
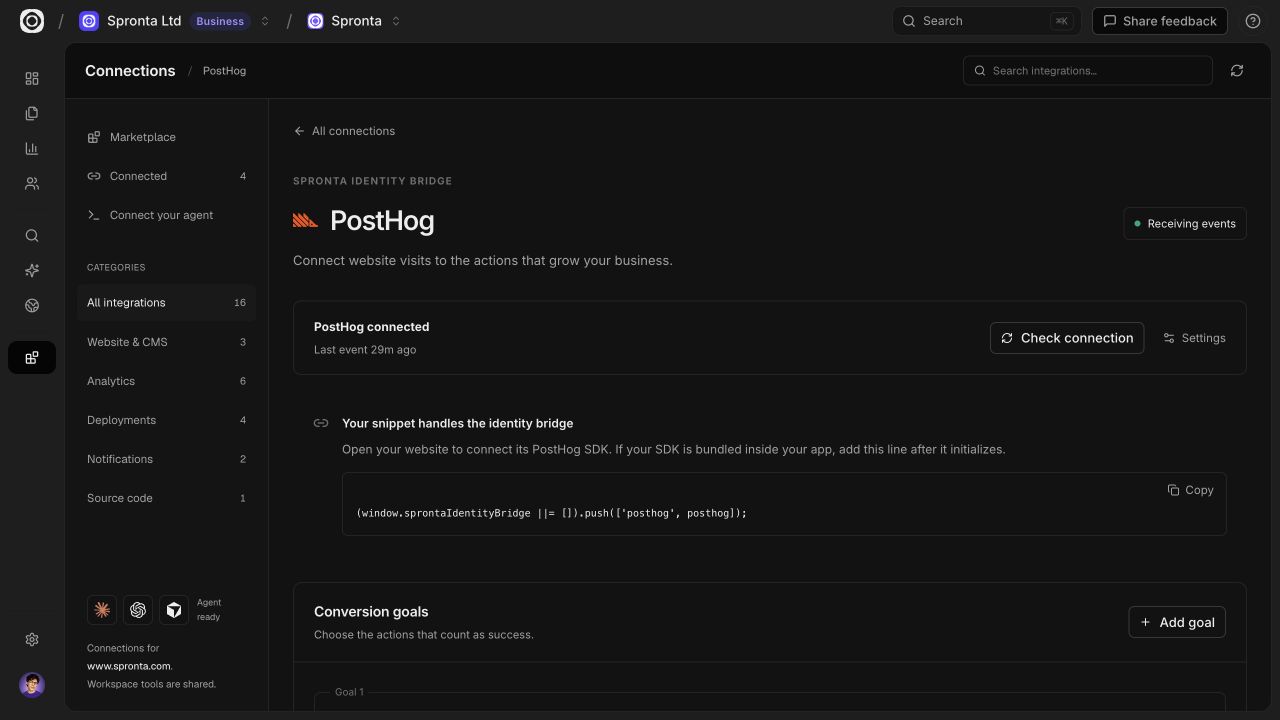
The snippet detects supported global SDKs. An imported or named SDK needs one short adapter line after initialization.
Select the exact event your app already sends. Save it as a goal, then explore the linked content and visitor journeys.
A PostHog US or EU Cloud account and your Spronta snippet. Server events need the same distinct ID and explicit analytics consent. Historical imports are not included.
The bridge follows your Spronta analytics permission. Connections and identity links stay separate for each website and provider.
PostHog integration reference ↗Setup, supported events and the context you can connect.
Sign in to PostHog, choose your project and let Spronta configure the destination. Choose goal events from your actual PostHog project.
Choose actual signup, trial or purchase events as conversion goals. Spronta links supported, consented events to the website session so you can explore content visits, searches and Answers interactions before the goal.
Use PostHog for product analytics and Spronta for the content experience. Connect the two to understand the pages and questions before a recorded goal.
Standard global browser SDK instances are detected by your existing Spronta snippet. If your SDK is imported into an app or uses a named instance, add the short adapter line from the setup guide after initialization. Keep your existing identify and logout/reset calls.
A PostHog US or EU Cloud account and your Spronta snippet. Server events need the same distinct ID and explicit analytics consent. Historical imports are not included.
Identity Bridge uses the current permitted website session and explicit analytics user IDs. It does not guess a match from email or IP addresses, change your provider user ID, or merge people across providers.
Event processing and visitor outcome reporting require Spronta Analytics. You can add Analytics to your plan and use it alongside Search or Answers.
Product names identify compatibility. They do not imply endorsement or partnership.